 Step 1:
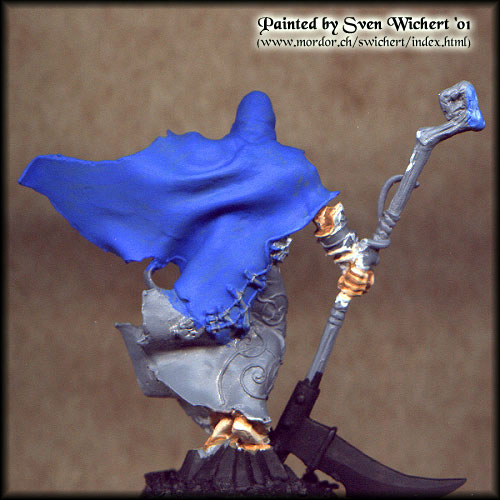
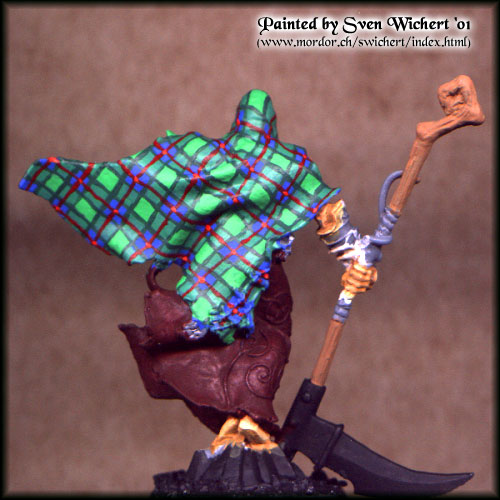
After choosing a specific tartan pattern (I don't know if this one exists IRL) I gave the whole cloak a nice and even basecoat with Dragon Blue (#8014). I thinned the paint down and therefore needed 3 coats to get good coverage. |
 Step 2:
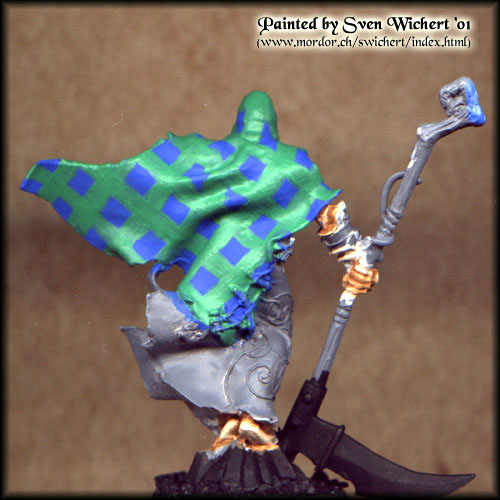
The next step was to paint the main pattern of the tartan. I used a mix of two parts Emerald (#8010) with one part of the Dragon Blue (#8014). The blue/green mix simulates the real pattern with green and blue threads mixed in the cloth. The shiny surface of the green stripes is due to some Ink Extender (#8208) I added to the mixture to thin it down but make sure that there is enough binder in the paint. |
 Step 3:
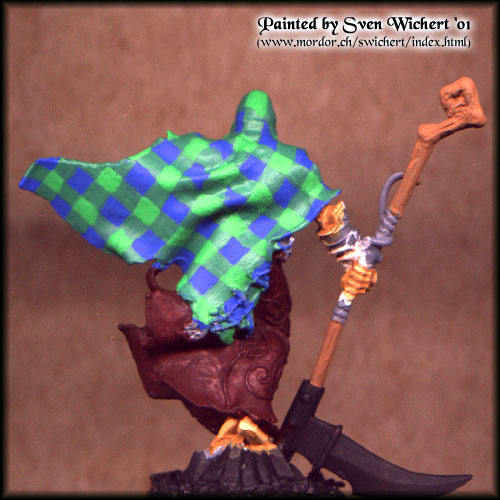
The squares where the blue/green stripes cross was painted with pure Emerald (#8010). You don't have to be too carefull with the last two steps as minor faults will be corrected with the next step! |
 Step 4:
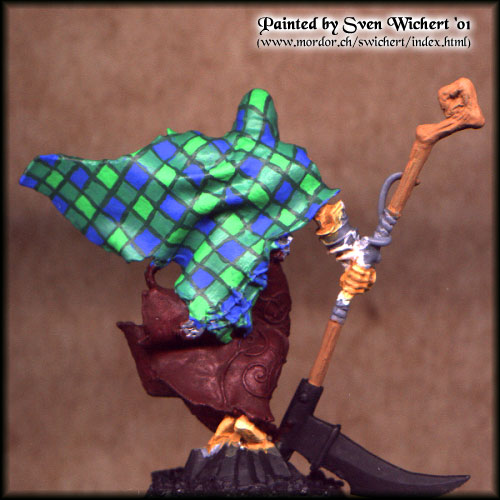
After painting the general pattern I decided that the different parts needed to be more defined from eachother in some way. I accomplished this by painting thin, darkgreen lines with Kilt Green (#8009) on the cloak, outlining the broad stripes. These lines covered all the little mistakes I had done during the prior steps. |
 Step 5:
I asked several people for their thoughts about the patterns so far and it turned out that the cloak needed something to liven it up. One idea was to add some red lines (thanks Ramon! ;-) ). The lines were done with Blood Red (#8001). |
 Step 6:
In the same way as in step 3 I painted small dots with Dragon Red (#8003) on the points where the red lines cross. |
 Step 7:
The last step was to shade the cloak. I mixed Emerald Green Ink (#8202) with Sapphire Blue Ink (#8203), thinned the mix down very much with water and some Ink Extender (#8208) and applied it to the cloak. I decided not to highlight the cloak for two main reasons: - I am not very good in highlighting such complex patterns and therefore there would have been a good chance that I ruin the entire cloak by attempting to highlight it. - A tartan is a on-piece-cloth. Highlighting each square of the pattern would have led to an impression like it was 'quilted'. |
|
|

|