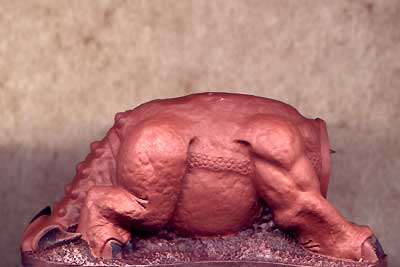
 Step 1:
After I primed the piece black the whole saurus got a basecoat of Reapers 'Chestnut Brown'.
|
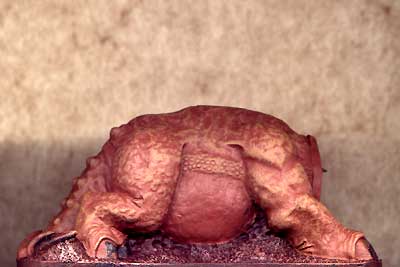 Step 2:
Then the beast was drybrushed with a lighter brown ('Woodland Brown').
|
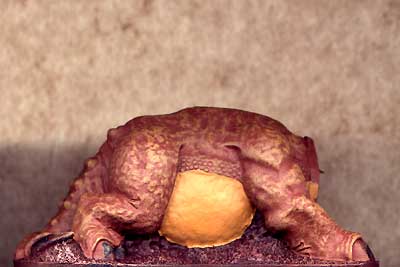 Step 3:
The belly was painted with 'Hawkwood' and the rest was drybrushed with it too.
|
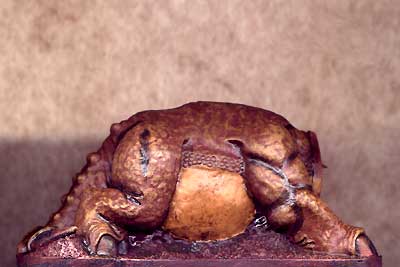 Step 4:
A healthy wash with diluted 'Woodshading Ink' was applied onto the entire saurus for shading. After this had dried the deeper recesses where additionally shaded with some more 'Woodshading Ink'.
|
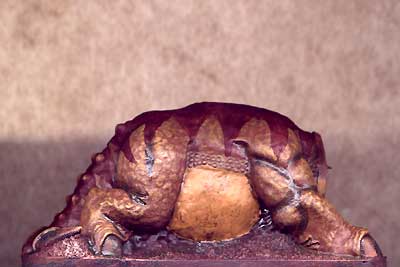 Step 5:
To make the beast a bit more interesting a pattern was added along the back with diluted 'Aged Red Brick'.
|
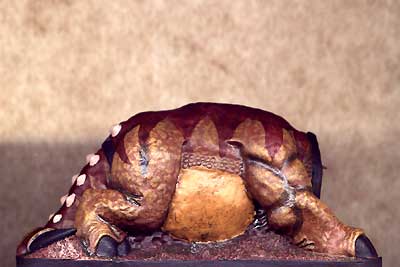 Step 6:
The base work was now done - time for the details. Appropriate basecolors for the various small details were applied ('Dragon Black' for claws and belts, 'Hill Giant Brown' for the spikes on the tail).
|
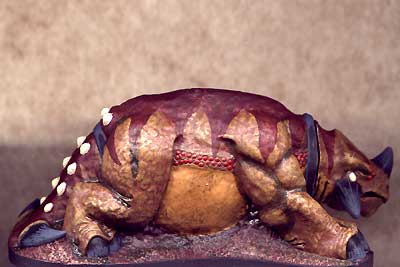 Step 7:
Using 'Armor Grey' I painted thin lines on claws, horns (starting at the tip of the horn and fading out towards the base) and on the edges of the belts. The bony spikes on the tail were highlighted with 'Buckskin'. To add some more color I painted the small round scale along the sides of the saurus with 'Blood Red'.
|
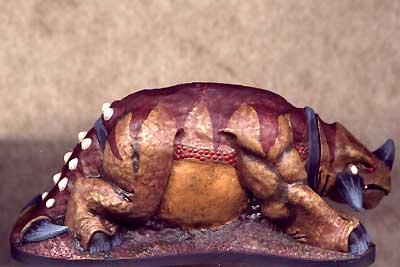 Step 8:
The claws and horns got another layer of thin lines with 'Ash Grey', again from tip to base but notas far down as the first ones. The spikes got another highlight with 'Ivory'.
|
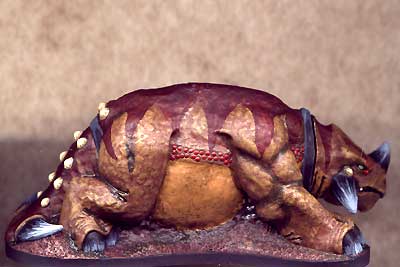 Step 9:
Once again thin lines for claws and horns, this time with 'Granite'. The spikes got a light coat with diluted 'Woodshading Ink'. The eyes were painted with 'Olive'.
|
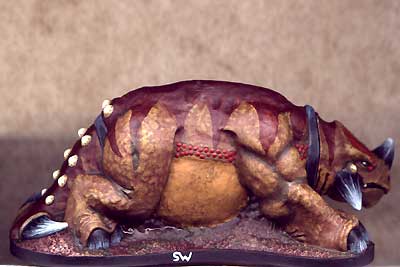 Step 10:
The final highlight on the horns was done with 'Dove Grey' just on the tips (no more highlights on the claws!). The eyes were highlighted with 'Orc Flesh' and then got a thin, vertical black line as pupil. The spikes got one final highlight with 'Ivory'. The beast was now finished and got a healthy coat of matt varnish for protection. As soon as I have finished the crew compartment and crewmen I will post the final result in the VOID section.
|


|

|