 Step 1:
Here you can see all materials that are needed for the basic tower: A base made out of plywood, a piece of mosquito net, two metal sliders from 3.5" floppy discs, pieces of a toothpick and various pieces cut out of cardboard of various thickness (1.2 mm for the white/black stuff, the thin type that e.g. breakfast cereal boxes are made of for the grey pieces). Additionally you will need some tape, white glue, premixed wood-repair putty (or something alike), scissors, a sharp hobby knife, sandpaper, some wooden sticks (e.g. the stuff you get in fast-food restaurants to stir your coffee), basing materials (sand, lichen, static grass, etc.) and some air-drying modelling clay. |
 Step 2:
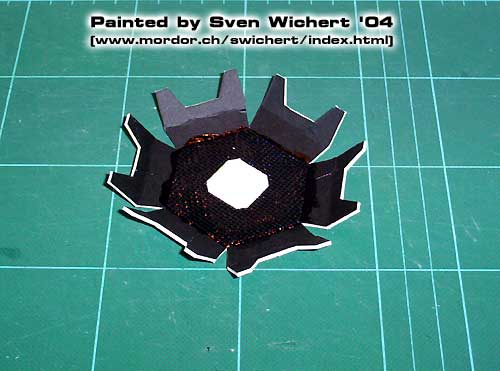
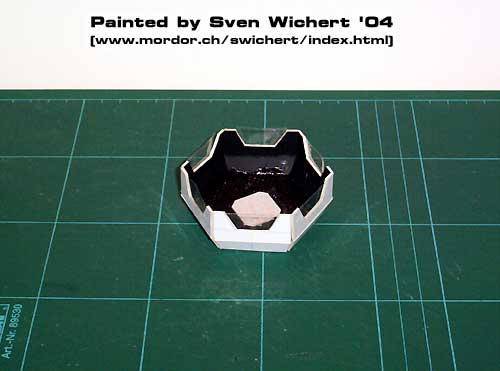
I began the construction with the six pieces of the main tower. I cut slightly into each of the pieces where it starts to get wider and then fold them to an angle. Next I used some tape of the inside to glue the pieces together. In the end they formed a hexagonal tower which got wider towards the base. I again used some tape to cover the gaps between the individual pieces on the outside of the tower. The use of tape here creates some nicely rounded edges. |
 Step 3:
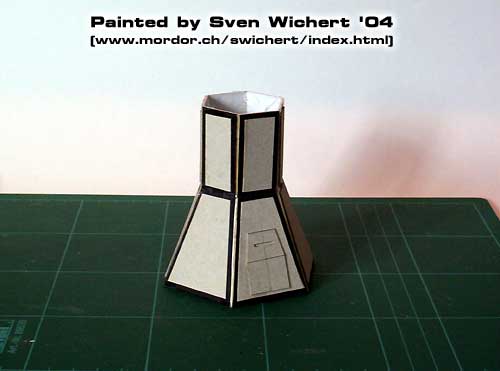
Onto this basic tower I then glued the additional armour plates and the door made out of thin cardboard. |
 Step 4:
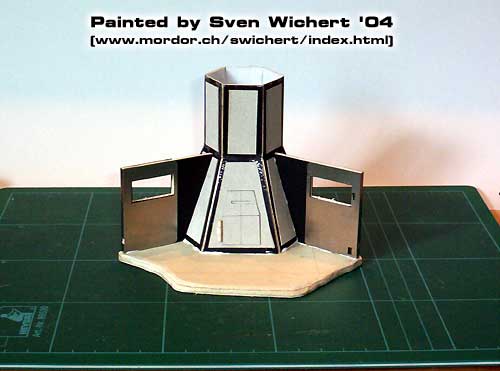
The armoured walls on the side were made out of two pieces of thick cardboard and one of the metal sliders each. I glued the tower and the side walls into place on the wooden base using white glue. The use of the metal sliders was because I entered this tower into a terrain competition where one had to use at least parts of a 3.5" floppy disc but they have the additional effect that the edges of the side walls become much stronger and resistant. I used a piece from a toothpick to create the hinge of the door. |
 Step 5:
Next was the top platform of the tower. This is a pretty complex piece but making it out of one piece of cardboard makes it much stronger. I glued the piece of mosquito net onto the middle of the platform to create a texture like corrugated metal on the floor. A piece of thin cardboard was used as a trapdoor, again with a hinge made out of a piece of a toothpick. |
 Step 6:
I bent the sides of the platform upwards and fixed them on the top walls using clear tape. |
 Step 7:
The platform was then placed on the main tower using white glue. I used some wooden sticks to create two small platforms on each of the side walls so that models can easily fire through the openings in the walls. |
 Step 8:
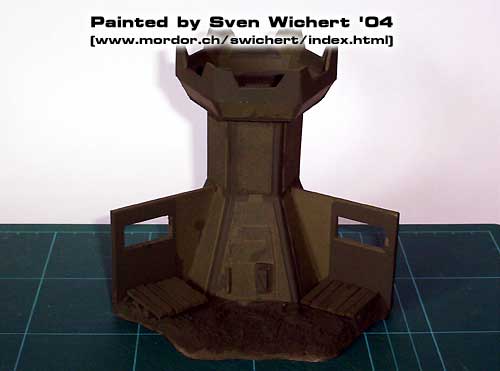
I used some premixed wood-repair putty to cover the base and fill all gaps on the top platform. When the putty had set on the platform I smoothed it down with some fine sandpaper. A piece out of my bitz box (actually the top of a battery from GWs heavy weapons team for 40K) made a perfect electronic lock for the door. After all has dried thoroughly I used some dark-olive spray paint to base the tower. |
 Step 9:
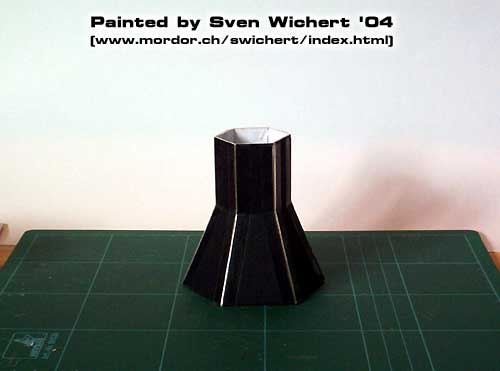
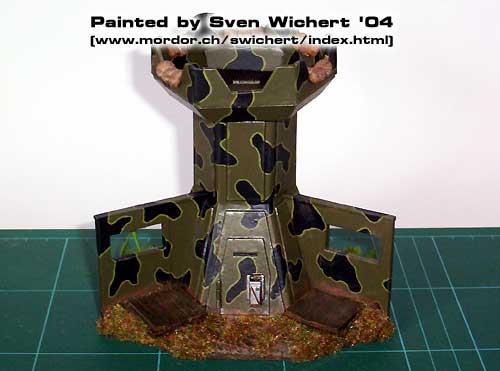
I then painted the tower using my main camo pattern and finally sealed it with two layers of gloss varnish and a final layer of matte varnish. I then decided that it still lacks something special so I made some sandbags out of air-drying modelling clay and added those to the top platform. |
 Step 10:
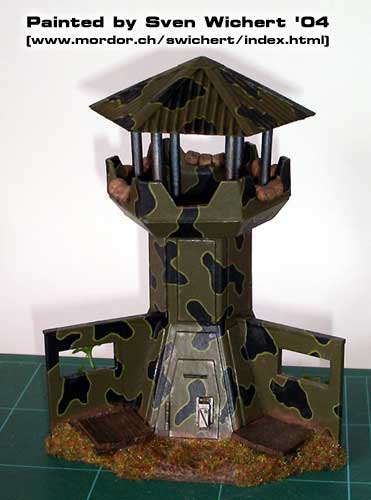
Not totally satisfied I added a roof made out of corrugated cardboard which is removable so that minis can be easily placed on the top platform. |


|

|