
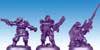
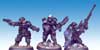
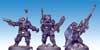
Step 1:
As the minis will be quite dark in the end I started by priming them with some black spray-primer.
|
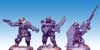
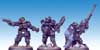
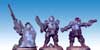
Step 2:
Next step were the main basic colors. I used some Volcanic Brown for the ground, Armor Grey for the rocks on
the bases, the gloves and all parts going to be camo′ed and some Ruddy Flesh for the skin parts of the
sergeant.
|

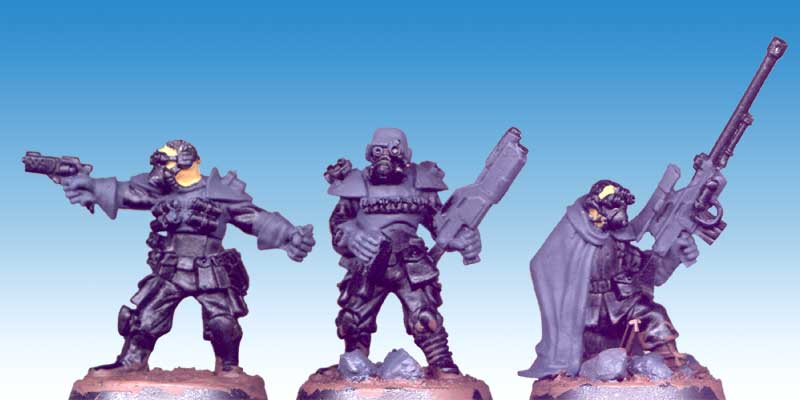
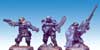
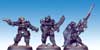
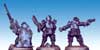
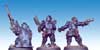
Step 3:
Now I shaded the skin parts of the sergeant by mixing some Volcanic Brown into the Ruddy Flesh. I also
started the camo pattern by painting geometrically shaped patches with Slate (a blueish grey) onto the grey
basecolor.
|
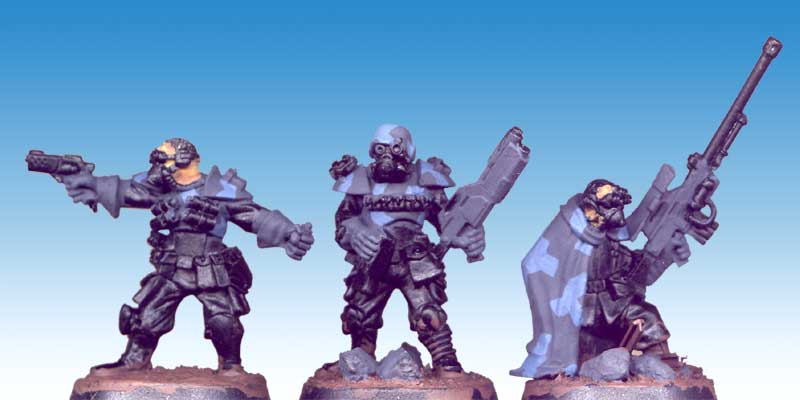
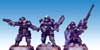
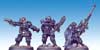
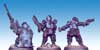
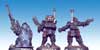
Step 4:
I continued the camo pattern with some more geometric patches in Dragon Black. Make sure that the remaining patches
of the grey basecolor also have that geometric shape.
I then covered all other parts of the mini with Dragon Black to repair the colorspills made while applying the
Armor Grey. I also used Armor Grey to paint the armor on knees and shins.
The skin got another shading by mixing in some more Volcanic Brown into the first shading tone.
|
Step 5:
The base was drybrushed with different browns (Chestnut Brown, Woodland Brown, Hill Giant Brown).
While doing this I made sure that I ′spilled′ some of that drybrushing onto the lower boots as well. This
creates the impression of mud on the boots and - in my oppinion - adds a lot of realism. The rocks on the bases where
drybrushed with different greys (Ash Grey, Granite, Stone Grey, Dove Grey). I then repainted
the sides of the bases with some Dragon Black
I used some Aged Red Brick on the pistol holsters and some Kilt Green on the nightvision-googles.
|
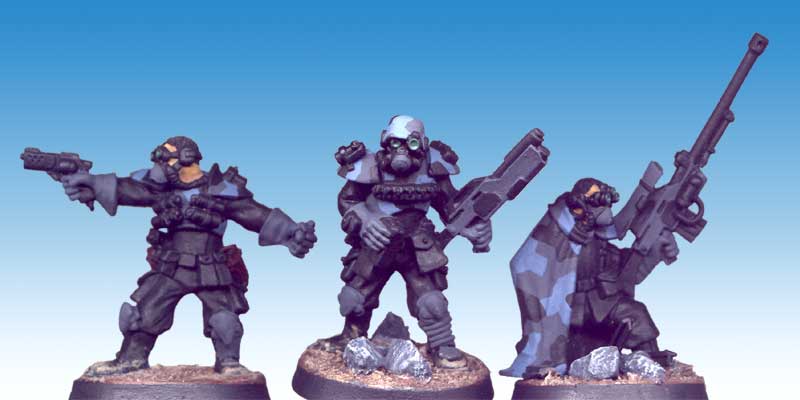
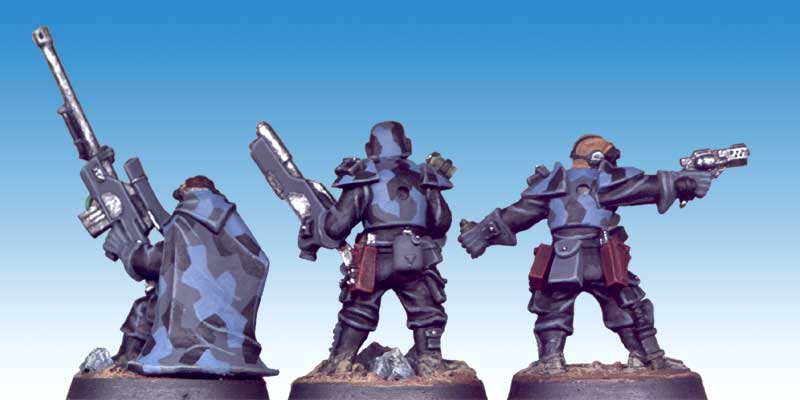
Step 6:
There are several small things in this step - first I painted all those pouches and the facemasks on the miniatures with
Armor Grey (again!). I also used this color to apply some first higlights to the black camo patches and the
black cloth of the pants and such. I then used some Steel Plate on the metal parts of the weapons and the steel
girders on the snipers base, some Troll Flesh on the grenades and a bit of Emerald to highlight the lower
half of the nightvision-googles. The edges of the pistol holsters were highlighted with Maroon.
I continued the skin parts by highlighting them with a mix of Ruddy Flesh and a few drops of Caucasian. The
belt-buckle of the sergeant got a basecoat of Copper.
|


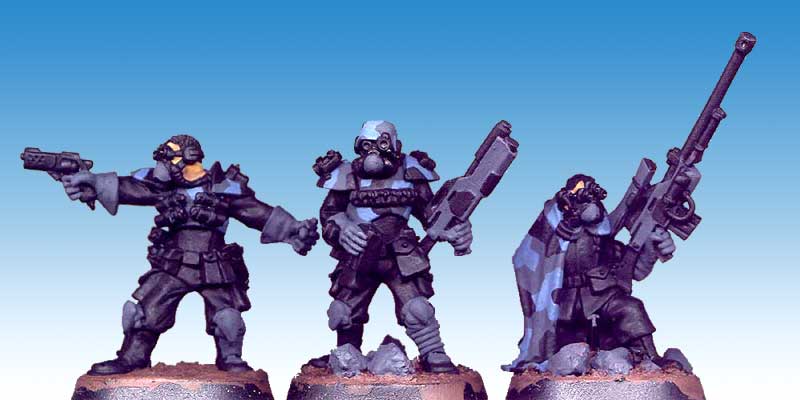
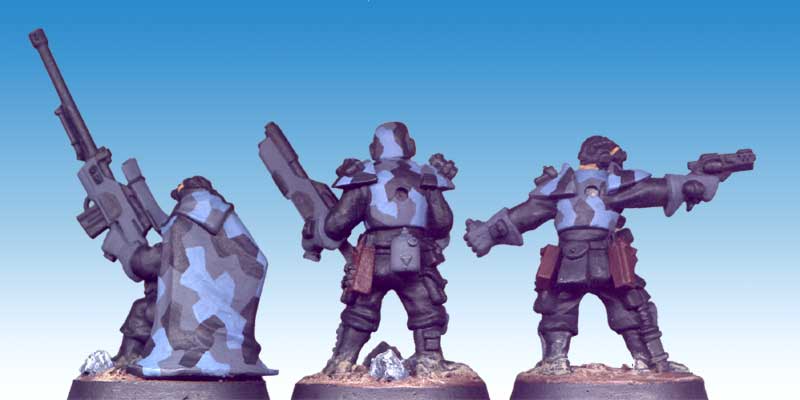
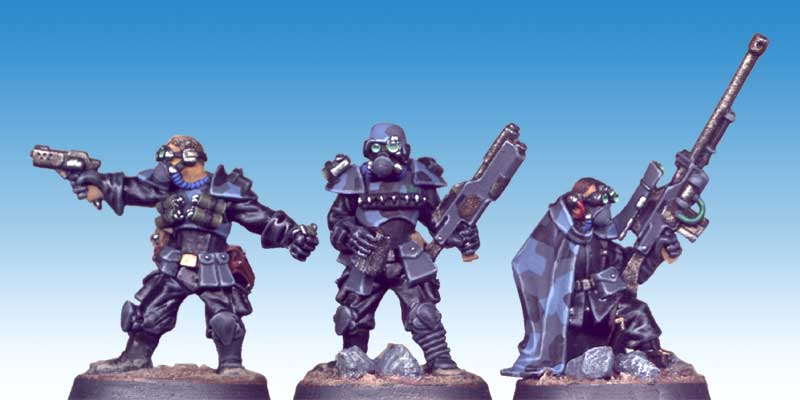
Step 7:
Time for some serious highlighting now - I used Ash Grey to further highlight the clothes and black camo patches.
The same color was used to paint the basic highlights on the grey camo patches, the weapon casings, on the armor on knees
and shins and on the edges of those pouches, facemasks and gloves. I finished the skin parts with a final highlight by
mixing in some more Caucasian and highlighted the edges on the grenades with diluted Olive. The metal parts
of the weapons where carefully drybrushed with Gun Metal and - very lightly - with i-Kore′s Synthan
Silver. The edges of the pistol holsters got another highlight with Chestnut Brown. I completed the
nightvision-googles by highlighting the lower edge with some Orc Flesh and by placing a small reflection point with
the same color on top of them. I used i-Kore′s Synthan Silver to paint the buttons on the pouches, the rings
on the grenades and such.
The hair of the sergeant was painted with Woodland Brown while I used Aged Red Brick on the sniper.
|
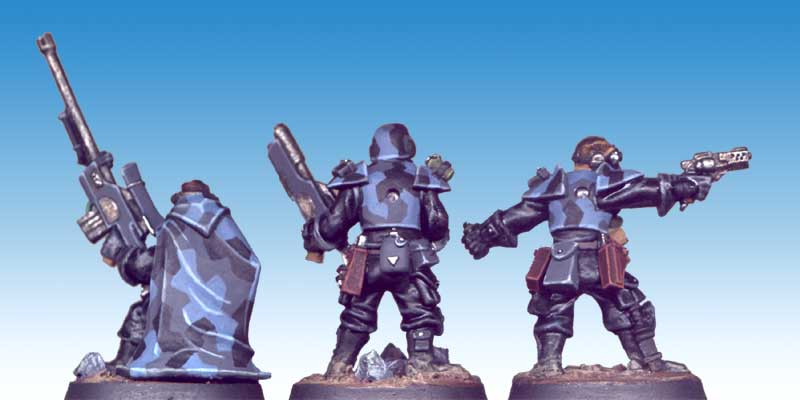
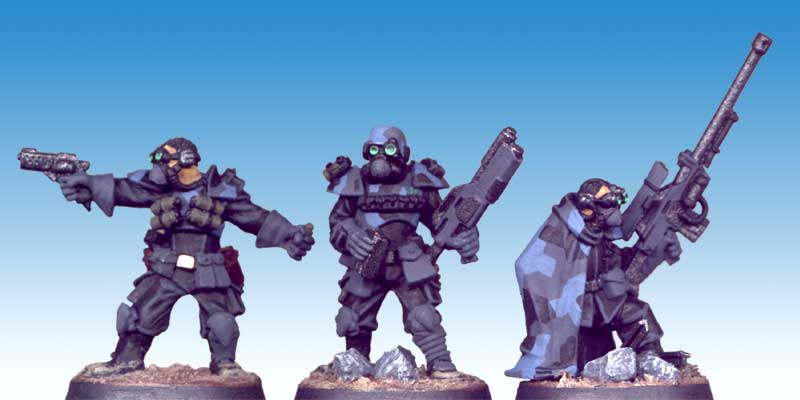
Step 8:
I used Ash Grey to add a final highlight to the grey camo patches and the edges of the pouches. The camo patches
done in Slate were basically highlighted with a mix of Slate and Dove Grey. Woodland Brown was
used on the weapon handles and - well diluted - as a final highlight on the pistol holsters. All the black clothes, gloves
and armor on knees and shins got washed with diluted Black Ink Wash, the metal parts got a heavy wash with
i-Kore′s Metal Wash. A bunch of small details were now painted too like the tubes on the facemasks (Dragon
Blue), the name tag (chest) and triangular sticker (water bottle) on the marine (Stone Grey), the cable on the
snipers headset (Blood Red).
|

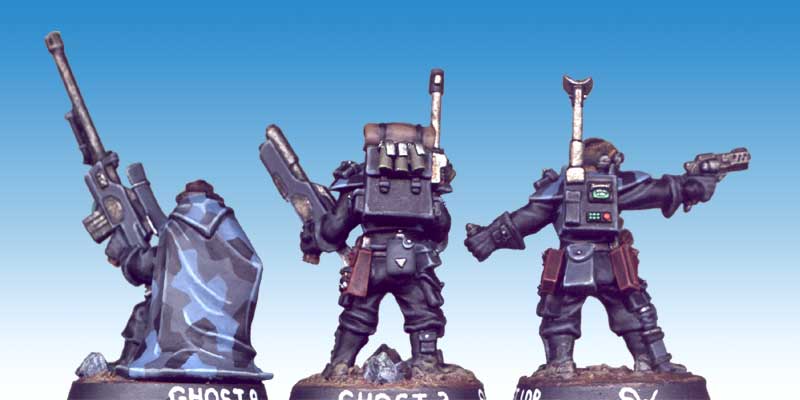
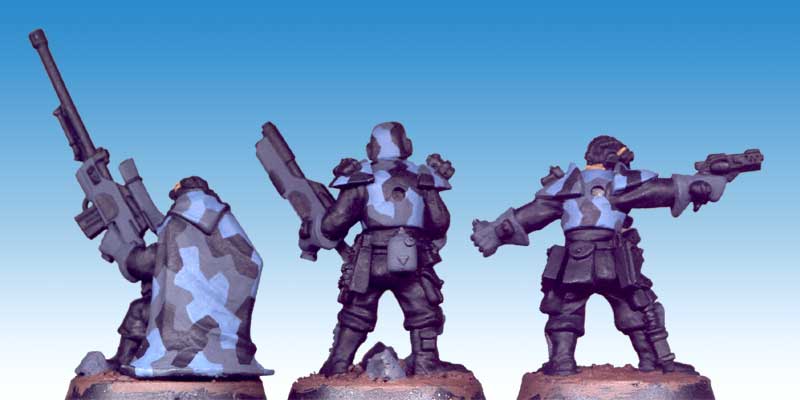
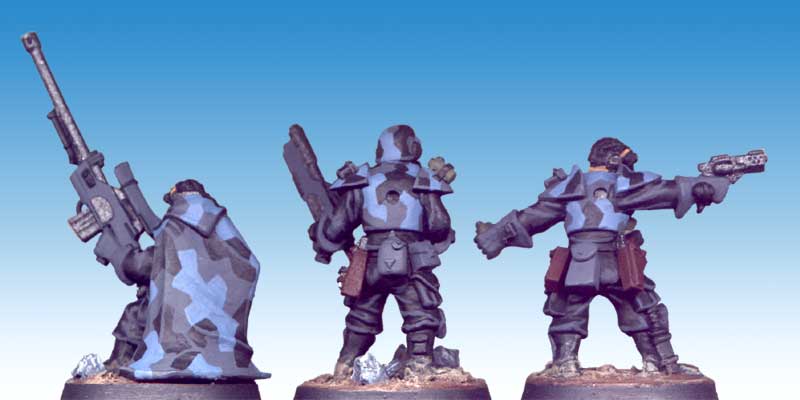
Step 9:
The final steps to complete the miniatures included to finally highlight the camo patches done in Slate by adding
more Dove Grey to the first highlight mix. The tubes of the facemasks were highlighted with Ice Blue and
then washed with diluted Sapphire Blue Ink, the red cable on the sniper got a final highlight with Dragon
Red. I painted some woodgrain on the weapon handles with Aged Red Brick and then washed those parts with diluted
Woodshading Ink. I then added the backpacks to the sergeant and marine. Those were done primarily the same way as
the rest of the minis except the sleeping bag on the marine. This was basecoated with Volcanic Brown, followed by a
wash of diluted Woodshading Ink. I then used Volcanic Brown again to repaint most of the sleeping bag
′til only the recesses were darkened by the ink. Finally I applied two steps of highlights by mixing the Volcanic
Brown with more and more Woodland Brown.
Finally I painted my signature on the bases together with the call-signs the models will have in my combat team. After
varnishing the minis with some brush-on matte varnish they were ready for some serious action.
I hope you like this tutorial as well as my other ones.
If you are going to try it out yourself I would be glad if you drop me an eMail how it went and maybe with a pic of the results.
|


|

|