 Step 1:
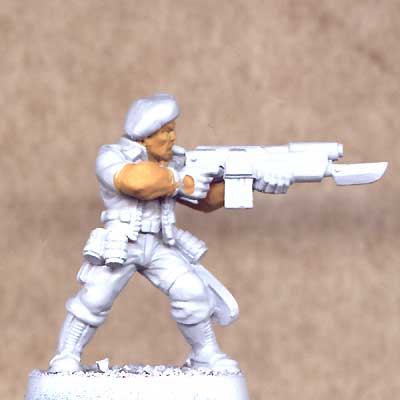
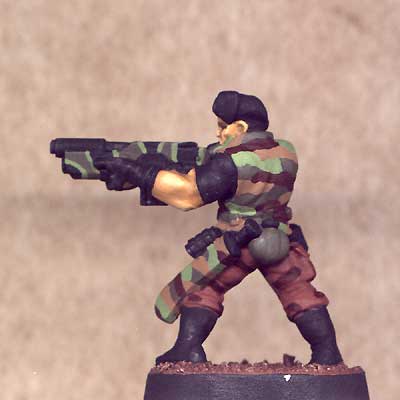
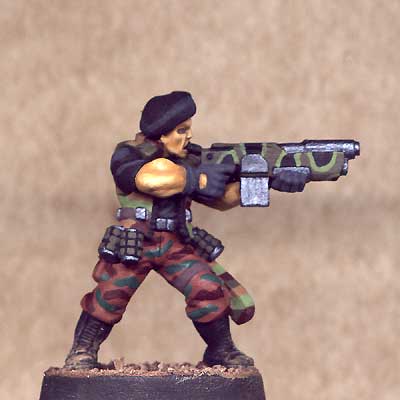
After priming the mini white I started painting all skin areas, giving them a basecoat of 'Ruddy Flesh'. I won't describe the other steps of painting skin here because I have already written a skin tutorial where you can check my skin technique. |
 Step 2:
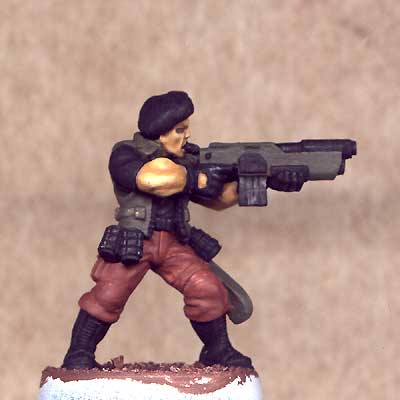
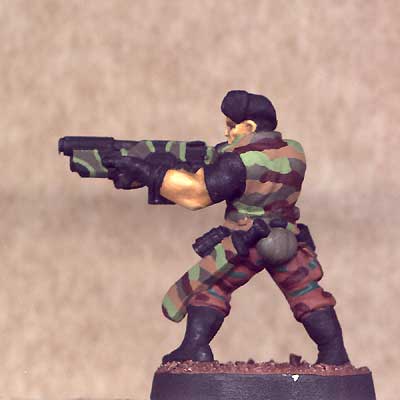
As soon as the skin was finished I applied the main basecolors on the rest of the mini. Those colors are 'Troll Flesh' for vest, gun casing, etc., 'Chestnut Brown' for the pants and 'Dragon Black' for boots, t-shirt, beret, grenades and all metal parts of the gun. |
 Step 3:
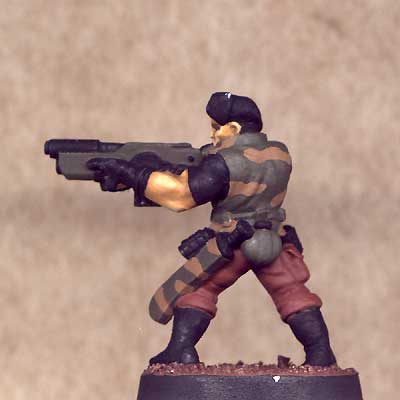
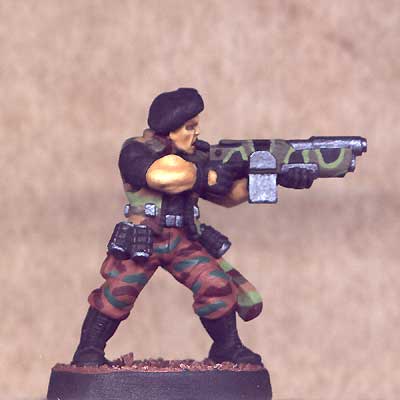
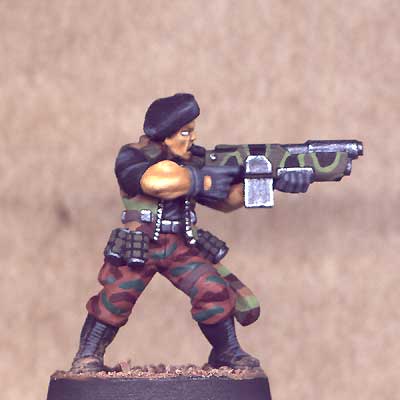
Now I started the camo pattern on the vest and combat blades scabbard. As I will use 4 colors for this pattern, two light ones ('Woodland Brown' and 'Olive') and two dark ones ('Aged Red Brick' and the basic 'Troll Flesh') I picked a light color ('Woodland Brown') first because the base is dark and this way I can alternately use a light and a dark color to paint the pattern. I started the pattern by drawing some slightly curvy lines onto the vest and scabbard. Make sure that those lines are not too close together because you have two more colors to use and the basecolor should be visible in places too. |
 Step 4:
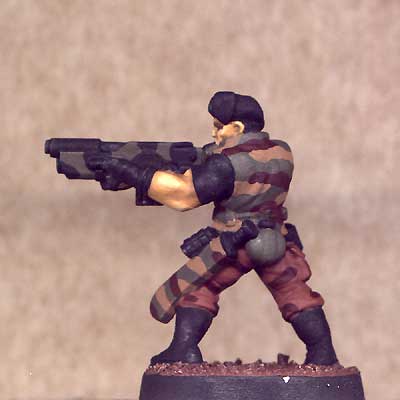
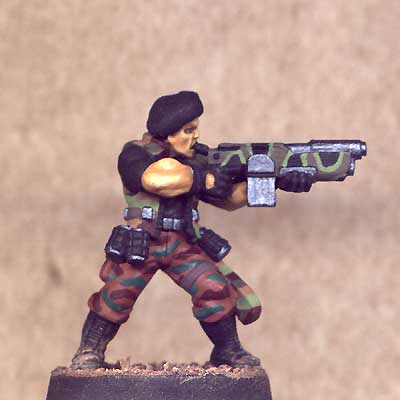
Next color of the camo pattern is 'Aged Red Brick'. I applied it again in curvy lines next to the 'Woodland Brown'. 'Aged Red Brick is one of the colors for the camo pattern on the pants as well so I started this too. The pattern here works slightly different as it's only a 3-color-pattern. On the base of 'Chestnut Brown' will be stripes in 'Aged Red Brick' and 'Kilt Green'. But this time those stripes wont touch each other so keep this in mind when you paint them. Additionally I used some 'Dragon Black' to start the camo pattern on the gun casing by painting several patches all over the casing. |
 Step 5:
The last color used one the vests camo pattern is 'Olive'. When painting this make sure to break all long lines of 'Troll Flesh' showing through in the pattern. As this pattern can be somewhat tricky from time to time I suggest that you try it on a test piece first. I used the 'Olive' too to finish the gun casing by outlining the black patches with a thin line. |
 Step 6:
I finished the camo pattern on the pants by painting more lines on them, this time with 'Kilt Green'. |
 Step 7:
In this step I basecoated all metal parts with 'Gun Metal'. |
 Step 8:
After some touchups on the boots with 'Dragon Black' I brushed the base with various shades of brown ('Chestnut Brown', 'Woodland Brown', 'Hill Giant Brown'). Note that I brushed some onto the boots too, this makes them look muddy and adds a lot of realism. |
 Step 9:
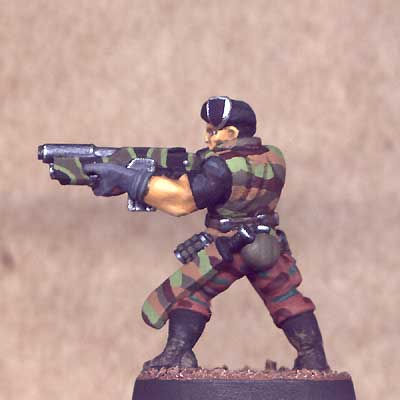
A lot of small things in this step: I painted the gloves with 'Armor Grey' and did some highlights on the shirt and beret too. Then I painted the strap holding the combat blades scabbard with 'Volcano Brown'. I finished the grenades by painting all those little squares on them with 'Troll Flesh'. |
 Step 10:
This time I did some highlights - on the gloves, shirt and beret with 'Ash Grey', on the metal parts with 'True Silver'. I used 'Ash Grey' for the straps on the boots too. And I painted the eye with 'Dragon White'. |
 Step 11:
Time for some shading: As this is a gaming mini and not some contest piece I didn't want to do too much for shading so I did some basic work on the camo vest with thinned 'Wood Shading Ink' (just painted it into the folds of the vest). I painted the badge on the beret with 'Amethyst', a very dark purple, and outlined it with 'True Silver'. And I painted the pupils of the eyes (not visible on the pic) using a black micro pen. |
 Step 12:
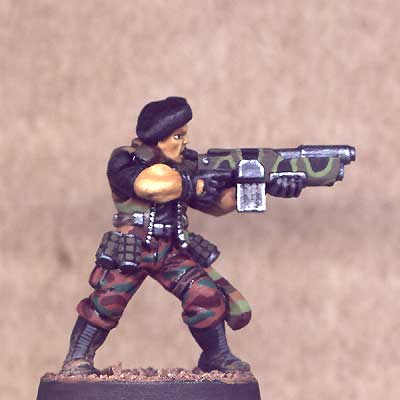
Using thinned 'Black Ink Wash' I continued the shading work on the pants, again painting it into the folds of the cloth. The gloves, shirt and beret got a complete wash with thinned 'Black Ink Wash'. |
 Step 13:
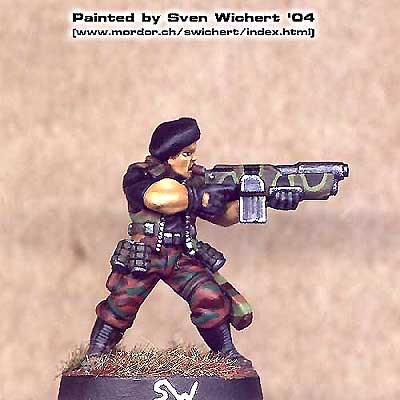
I finished the mini by painting some small details like the viridian logo on the badge on the beret, the cigar in his mouth and such. I then varnished the mini with brush-on matte varnish. After the varnish has dried I glued some static grass onto the base to finish the mini. |
|
|

|